Mailbox installation sounds like a tricky job, but it’s really not! Whether you’re putting in a brand-new mailbox or replacing an old one, this guide will help you every step of the way. Mailbox installation is important because it keeps your mail safe and makes your home look neat too.
When you install a mailbox, you need to think about a few things—like where to place it, what tools you’ll need, and what kind of mailbox fits your home best. Some people choose a mailbox that goes into the ground, and others pick one that attaches to the house. Either way, doing it right means your mail carrier can easily drop off your letters and packages. This guide will walk you through all the simple steps, give you smart tips, and make sure your mailbox is strong, safe, and ready to use. No handyman needed—just you and a little help from this blog!
Mailbox installation isn’t just about digging a hole and sticking in a post. There are a few small but super important things to think about. First, you need to follow your local rules or what the post office says about how high and how far your mailbox should be from the street. If it’s too high or too low, your mail carrier might have trouble reaching it. It might be struck by a vehicle if it is too close to the road. So planning is step one. Next, picking the right kind of post and mailbox matters too. Plastic? Metal? Wood? Each has pros and cons. Plus, do you want it to lock? Some people like that for safety. Lastly, the ground where you install the mailbox should be solid. If it’s too soft, the mailbox might lean or fall. Don’t worry—this blog will cover all of this in easy steps, so your mailbox stands tall and lasts long!
What Is Mailbox Installation and Why Does It Matter
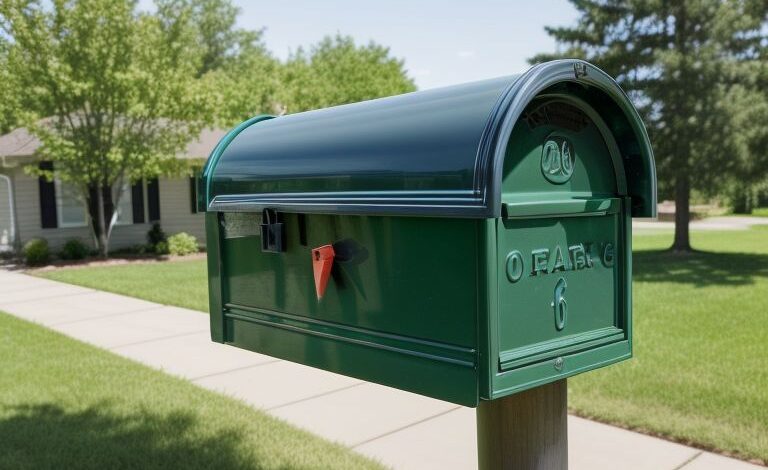
Mailbox installation means setting up a safe and strong place where your mail can be delivered every day. It’s not just about putting a box by the road—it’s about making sure your mail gets to you safely, even in bad weather. A good mailbox also makes your home look nicer and shows that you take care of your space. If the mailbox is too low, too close to the road, or loose, your letters might get wet, stolen, or missed. That’s why mailbox installation is more important than most people think. When it’s done right, you won’t have to worry about it again for years. So let’s learn how to do it the smart and simple way!
Things to Know Before Starting Your Mailbox Installation
Before you start your mailbox installation, there are a few things you really should know. First, check if your town or city has any rules about where the mailbox should go. Some places tell you how high it should be or how far from the road. Next, make sure to call your utility company to be sure you don’t dig into any underground wires or pipes. Also, look at your yard—is the ground strong and flat? That’s the best place for a mailbox. Finally, think about what kind of mail you get. Big packages? Then maybe you need a bigger mailbox. Planning ahead will save you time, money, and mistakes later on.
Tools You Need for a Simple Mailbox Installation
You don’t need a whole workshop to do a mailbox installation, but a few tools will make things much easier. You’ll need a shovel to dig the hole, a level to make sure your post stands straight, and a tape measure to check the height and distance. A screwdriver or drill helps when attaching the mailbox to the post. If your post needs to go deep, a post hole digger is super helpful. Also, don’t forget quick-set concrete or gravel to keep the post in place. With these tools ready, you’ll save trips to the store and make your work go faster. Always check everything is safe and secure before calling it done!
Step-by-Step Mailbox Installation Guide for Beginners
Mailbox installation is easy if you take it step by step. First, pick your spot—make sure it follows the rules for height and distance from the road. Second, dig a hole about 2 feet deep. Third, place your post in the hole and use a level to make sure it stands up straight. Fourth, pour in concrete or gravel and wait for it to set. Fifth, attach your mailbox to the post using a screwdriver or drill. Last, double-check the height and make sure it’s steady. That’s it! You’ve just done your own mailbox installation. Take your time and follow each step, and you’ll be proud of what you built all by yourself.
How to Choose the Right Spot for Your Mailbox Installation
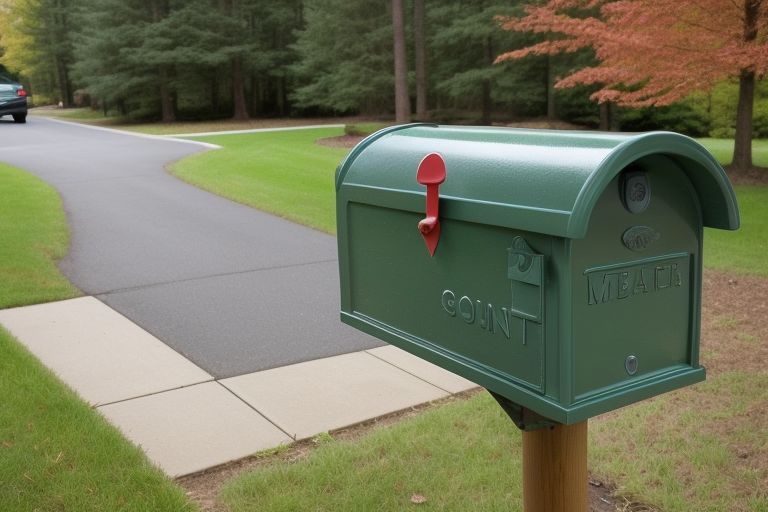
Picking the right place for your mailbox is super important. If it’s too close to the road, it could get hit by a car or snowplow. Too far, and your mail carrier may not deliver your mail. So where’s the sweet spot?The bottom of the mailbox should be between 41 and 45 inches off the ground, and it should be between 6 and 8 inches from the road edge. Also, make sure the area is clear of bushes or anything that blocks the path.A safe, visible spot helps keep your mailbox safe and makes delivery easier.Take a few minutes to measure and plan—it’s totally worth it!
Picking the Best Mailbox and Post for Your Home
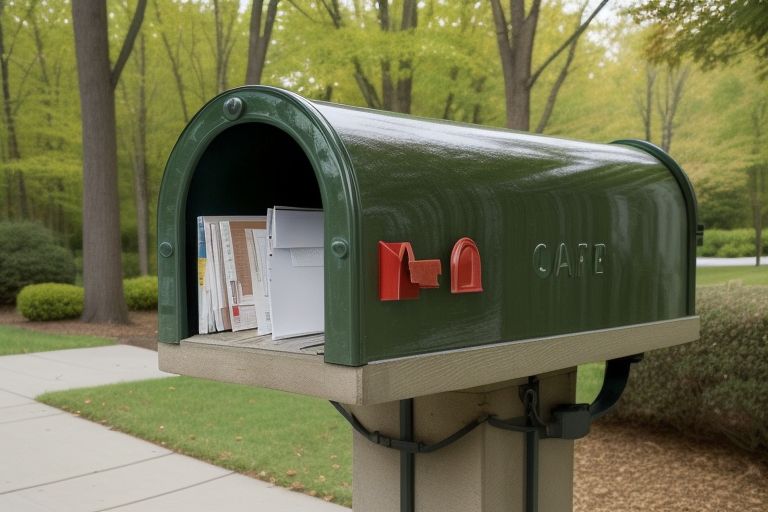
When choosing a mailbox and post, think about how much mail you get and how you want your home to look. Do you get lots of packages? Then pick a bigger mailbox with a locking door. Want something that matches your house? There are wooden, metal, and plastic designs in many colors and styles. The post should be strong and made for outside weather. Some people like the look of wood, while others pick metal because it lasts longer. Whatever you choose, make sure it’s approved by the postal service. A good match between your mailbox and post will make your front yard look clean and neat.
Mailbox Installation Tips to Make It Last Longer
If you want your mailbox installation to last for years, a few smart tips can help. First, use pressure-treated wood or rust-proof metal so it won’t break down in rain or snow. Second, always use concrete or gravel at the base of the post to keep it steady. Third, check your mailbox once in a while to make sure it’s not leaning or coming loose. Also, try not to place it where water gathers, like near a slope or puddle. A little care in the beginning means fewer repairs later. These easy tips help your mailbox stay strong, safe, and good-looking for a long time.
Common Mailbox Installation Mistakes and How to Avoid Them
Some common mistakes can mess up a mailbox installation fast. One big mistake is not digging deep enough—the post might fall over. Another is placing it too close to the road, where it could get damaged. Some people forget to use a level, so the mailbox leans to one side. Others don’t check with local rules and have to move it later. Also, skipping the concrete means your mailbox might shift every time it rains. All these mistakes are easy to avoid if you plan ahead and follow a step-by-step guide. Taking your time now saves big headaches later!
Do You Need a Permit for Mailbox Installation
Most of the time, you don’t need a permit for mailbox installation at home. But it’s still smart to double-check with your local post office or city office. Some places have special rules about size, location, or even color! If you live in a neighborhood with a homeowners association (HOA), they might have rules too. A quick call or visit to the website can help you avoid trouble. If your mailbox is on the street, it must follow U.S. Postal Service rules. If you’re adding lights or a custom design, that might need approval. It’s always better to ask before you dig!
Easy Ways to Decorate After Your Mailbox Installation

Once your mailbox installation is done, it’s time for the fun part—decorating! You can paint the post in a bright color or add fun numbers so your house is easy to find. Some people put flowers or small garden lights around the base. A small sign with your family’s name can also be hung.Just remember, your decorations shouldn’t block the mailbox or make it hard for the mail carrier to reach. Also, try to use weather-proof things so they don’t break in the rain. A cute, clean mailbox makes your home feel extra friendly and warm to visitors!
Conclusion
Installing a mailbox is not as hard as it sounds. With the right tools and a little time, anyone can do it. You just need to plan ahead, follow the steps, and pick the right spot. A strong, steady mailbox helps you get your mail safe and dry every day.
Now that you know all the tips and steps, you can start your own mailbox installation with confidence. It’s fun to build something yourself! And when it’s done, you’ll feel proud every time you check your mail. So go on—grab your tools and give it a try!
FAQs
Q: Do I need special tools to install a mailbox?
A: No, just simple tools like a shovel, screwdriver, and level are enough.
Q: How far into the ground should the post go?
A: Around 2 feet deep is best to keep it strong and steady.
Q: Can I use any kind of mailbox I like?
A: Yes, but it should follow postal rules and fit your mail needs.
Q: What if my ground is too soft?
A: Use gravel or concrete at the base to help keep the post firm.
Q: Do I have to call anyone before digging?
A: Yes, it’s smart to call your utility company so you don’t hit wires or pipes.