
Mailbox installation might seem tricky, but don’t worry—it’s much easier than you think! Whether your old mailbox is falling apart or you’re putting one in for the first time, learning about mailbox installation will save you time, stress, and even a little money. In this guide, I’ll walk you through every little step in super simple words. Even if you’ve never picked up a hammer before, this blog will help you feel like a pro. By the end, you’ll know exactly how to choose the right spot, the right tools, and how to install a mailbox that lasts a long time.
Now, why is mailbox installation important? First, your mailbox is one of the first things people see when they pass your home. It’s like a welcome sign to your house. A strong, well-placed mailbox also keeps your mail safe from bad weather and makes life easier for your mail carrier. Plus, if you follow the right rules and use the best tools, you won’t have to fix or replace it anytime soon. Some people try to rush it or skip steps, and that can cause big problems later on. So, let’s learn the smart way to do it, together—nice and slow, one step at a time.
What You Need Before Starting Mailbox Installation
Before you begin your mailbox installation, you’ll need a few important things. First, make sure you have a clear understanding of the mailbox regulations in your area. Different locations may have specific rules about how far the mailbox should be from the road or how high it should sit. Then, gather the right tools, such as a shovel, level, hammer, screws, and post. It’s also helpful to have a helper, especially for holding the mailbox or post while you work. Don’t forget to pick a mailbox that suits your home style and needs. Taking a moment to gather everything you need will save you a lot of time and stress during the installation process.
Choosing the Right Mailbox: Styles, Sizes, and Rules
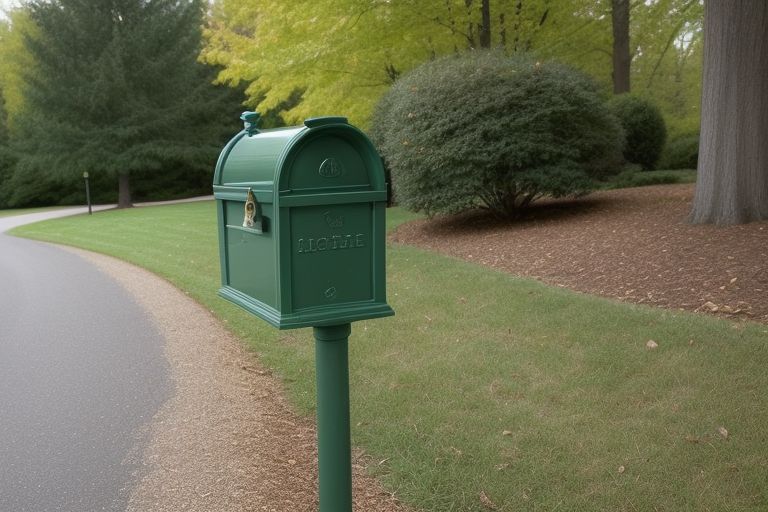
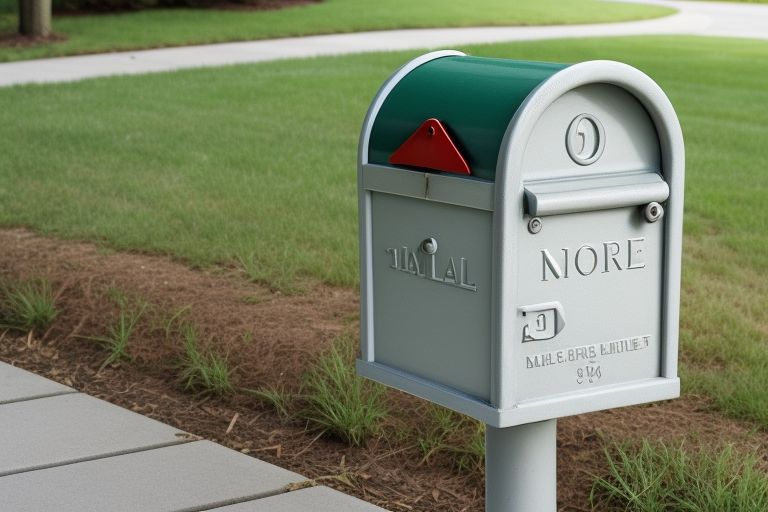
Choosing the right mailbox can be more complicated than it seems! First, pick a style that fits your home’s exterior, whether you prefer a classic post-style, wall-mounted, or a more modern design. Size matters too—make sure it’s big enough to hold the amount of mail you typically receive. Also, check for any local postal guidelines regarding mailbox size, placement, and installation. Some areas may have rules about how far the mailbox should extend from the curb or whether it needs a flag. Finally, consider durability. You want a mailbox that can stand up to the elements, especially if you live in an area with heavy rain, snow, or high winds. Make sure your choice checks all the boxes!
Where to Put Your Mailbox: Finding the Best Spot
Choosing the best spot for your mailbox is just as important as picking the right design. You’ll want to place it somewhere easily accessible for your mail carrier, usually about 6 to 8 inches behind the curb. It should be at a height that’s convenient for them, typically around 41 to 45 inches from the ground. Keep in mind that your mailbox shouldn’t block the sidewalk or street, and it’s a good idea to avoid areas with heavy traffic or tall bushes that could obstruct visibility. Also, make sure the spot is free from any obstacles like large tree roots or rocks. A well-chosen location ensures that your mailbox is both functional and safe.
How to Install a Mailbox Post the Right Way
Installing a mailbox post the right way is essential for a stable, long-lasting mailbox. Start by digging a hole that’s at least 2 feet deep. This depth helps anchor the post securely in place. Use a post that’s sturdy and weather-resistant, like treated wood or metal. Before placing the post in the hole, check the depth to ensure the top of the post will be at the right height. Once the post is in position, fill the hole with concrete and allow it to set for at least 24 hours. Be sure to check the post’s level as you work so that it stands straight. Proper installation now will save you from future repairs.
Mailbox Installation Tools List (Even Kids Can Help!)
Installing a mailbox doesn’t require fancy tools, but you will need a few basic items. A shovel is necessary for digging the hole for your post. You’ll also need a level to make sure the post is straight, and a tape measure to ensure the correct height and distance from the curb. If you’re attaching a mailbox to the post, a drill and screws will come in handy. A hammer or mallet may also be useful for securing the post into the ground. For safety, make sure you have work gloves and protective eyewear. While kids can’t dig the hole, they can certainly help with holding the mailbox or handing you tools. Installing a mailbox can be a fun family project!
Step-by-Step Mailbox Installation for Beginners
If you’re new to mailbox installation, don’t worry! Here’s a simple, step-by-step process. Start by selecting the right spot for your mailbox, considering both postal rules and ease of access. Next, dig a hole deep enough to hold the post securely—about 2 feet deep is usually ideal. After that, insert the post into the hole and use a level to ensure it’s straight. Once you’re happy with the position, fill the hole with concrete to hold the post firmly in place. Let the concrete dry for a day, then attach the mailbox to the post using screws. Finally, check everything to make sure it’s sturdy and at the right height. With these steps, you’re all set!
Common Mailbox Installation Mistakes (And How to Avoid Them)
Many homeowners make a few simple mistakes when installing a mailbox, but you can easily avoid them. One common error is placing the mailbox too low or too high. The right height for the mailbox is around 41 to 45 inches from the ground. Another mistake is not checking local postal regulations, which can lead to your mailbox being placed incorrectly or even rejected by your mail carrier. Also, don’t forget about the post! If it’s not sturdy enough or installed too shallow, it can wobble or fall over in bad weather. To avoid these mistakes, always double-check the rules, take your time, and make sure the mailbox is positioned correctly before securing it in place.
How to Keep Your Mailbox Strong for Years
Keeping your mailbox in good condition requires a little maintenance now and then. Start by inspecting the mailbox regularly for signs of wear, like rust, cracks, or loose screws. Clean your mailbox every few months to remove dirt, dust, or grime. If you notice rust or paint peeling, give the mailbox a fresh coat of weather-resistant paint to protect it from the elements. Check the post as well—if it’s made of wood, look for any signs of rot. If you find any issues, address them quickly to prevent bigger problems later. Proper care will ensure that your mailbox remains strong, durable, and looking great for many years to come.
Mailbox Installation FAQs: What Most People Ask
Mailbox installation comes with lots of questions, and it’s normal to feel unsure about some things. One of the most common questions is, “What’s the right height for a mailbox?” The standard height is about 41 to 45 inches from the ground. Another popular question is about the materials used for posts—metal posts are generally more durable, but wooden posts can look nicer and fit certain home styles. Some people also wonder whether they need a permit to install a mailbox, but usually, you don’t unless you’re in a community with specific rules. If you’re unsure about anything during the process, always check local postal guidelines or consult a professional for advice.
DIY vs. Hiring Help: Which Is Better for Mailbox Installation
When it comes to mailbox installation, many people wonder whether to do it themselves or hire a professional. If you enjoy DIY projects and have basic tools, installing a mailbox is a fairly easy job to handle. You’ll save money and gain a sense of accomplishment. However, if you’re unsure about the process or lack the time to do it properly, hiring a professional might be the best choice. They’ll ensure everything is installed according to local rules, and you won’t have to worry about mistakes. Ultimately, the choice depends on your confidence and available time. Either way, your mailbox will be installed correctly, and you’ll enjoy it for years.
Conclusion
In conclusion, mailbox installation is easier than it sounds. With the right tools and a little time, you can have your mailbox set up in no time. Remember to follow all the steps carefully, choose the right mailbox, and make sure everything is at the right height and position. Once installed correctly, your mailbox will serve you for years to come, keeping your mail safe and sound.
So, whether you’re installing a new mailbox or replacing an old one, just take it slow and follow the steps. If you feel confident, go ahead and do it yourself, but if you’d prefer, you can always hire a professional. Either way, you’ll have a mailbox that works perfectly for you and your home!
FAQs
Q: What is the right height for mailbox installation?
A: The standard height for a mailbox is between 41 to 45 inches from the ground.
Q: Do I need a permit to install a mailbox?
A: In most areas, you don’t need a permit unless you’re in a community with specific rules.
Q: Can kids help with mailbox installation?
A: Yes, kids can help with holding the mailbox or handing you tools, but they shouldn’t dig the hole or do any heavy work.
Q: How deep should the hole be for the mailbox post?
A: The hole should be at least 2 feet deep to keep the post stable.
Q: What type of post is best for mailbox installation?
A: A metal post is usually more durable, but a treated wood post can look nice and fit certain home styles.